Blog

5 Must Packs and 5 Things to leave behind for Vacation with Your Kids

5 Must Packs and 5 Things to leave behind for Vacation with Your Kids

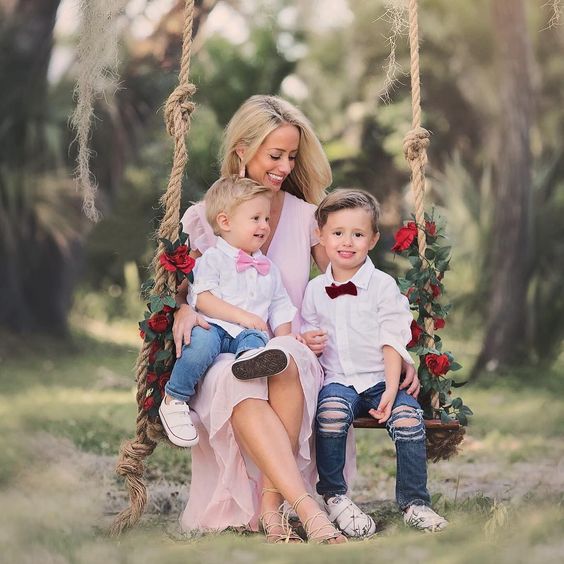
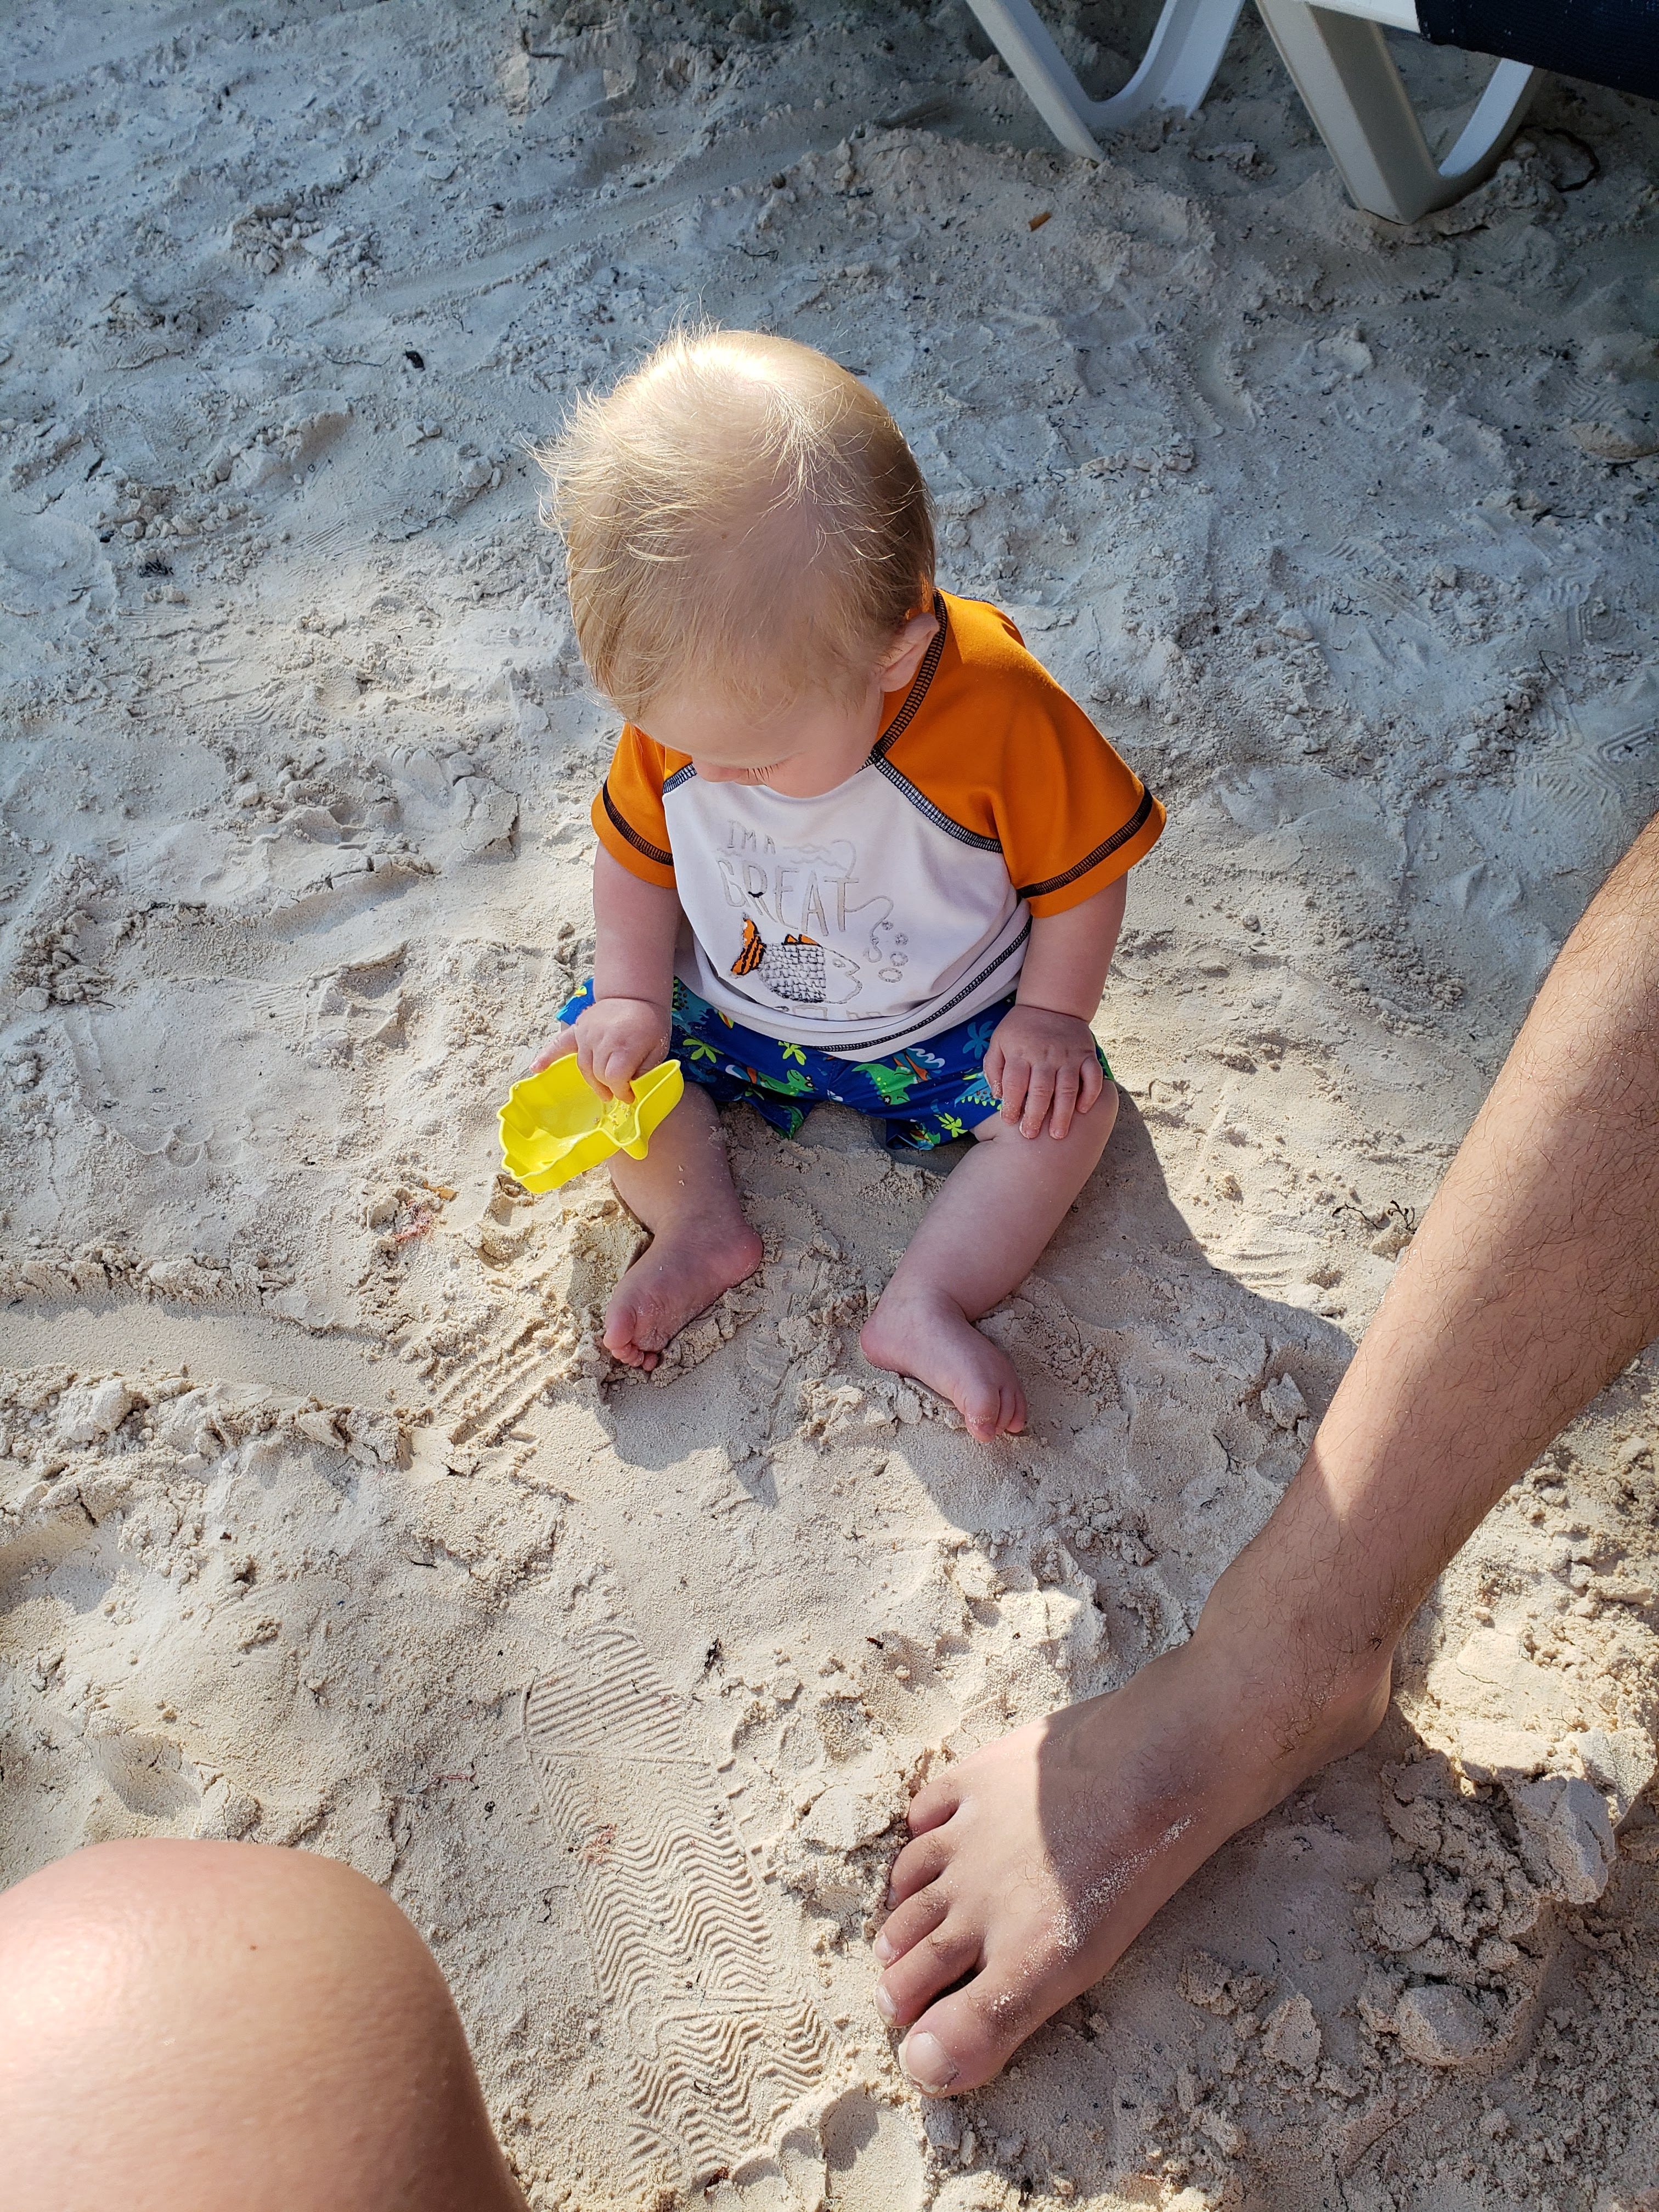
Recently, my husband and I went on an all-inclusive trip to Cancun and we took our two children who are almost eight-months-old, and two years old. It was a wonderful time where we enjoyed the beach, the food, and relaxation. Here are the top ten must-packs from my packing list when you travel with kids.

The Top 5 Must Haves

1. Pepto Bismol for Kids and other Children’s medicines

One of the worst things that can happen to you, God forbid, when you are traveling is that your child gets sick in some way. They can come down with a cough, a fever, or a tummy ache that leads to other bathroom problems.

I won’t go into much detail here because I’m sure you can imagine what it is like to be at a meal and your child needing to go to the bathroom 3 times within that span because they aren’t feeling well. This happens because your child isn’t used to other foods or can get some other food borne illness.

I recommend packing the following medicines:

  • Medicine for their stomach like this Pepto Bismol for kids.
  • For fever like children’s acetaminophen.
  • Something for cough and mucus. We prefer to use Zarbees because of the natural elements but any cough and mucus deterrent will be great to have on hand, just in case.
  • thermometer
  • gas drops for your baby

A great idea before you go on a trip is to help build their immune support. You can do this with Elderberry and Briar Rose drops. Or, getting out in the sunshine and letting them play for at least 30 minutes a day. If you are like me though, you probably don’t get that much time for them to play outside so the supplements are great for immune boosting. In addition to those two things, you can boost immunity with probiotics and vitamin d drops.

I recommend packing and having all the above. There is nothing worse than being on vacation, your child getting sick, and you not having anything to give them. Trust me! Even though it takes up space and adds weight to your bags, it is better safe than sorry.

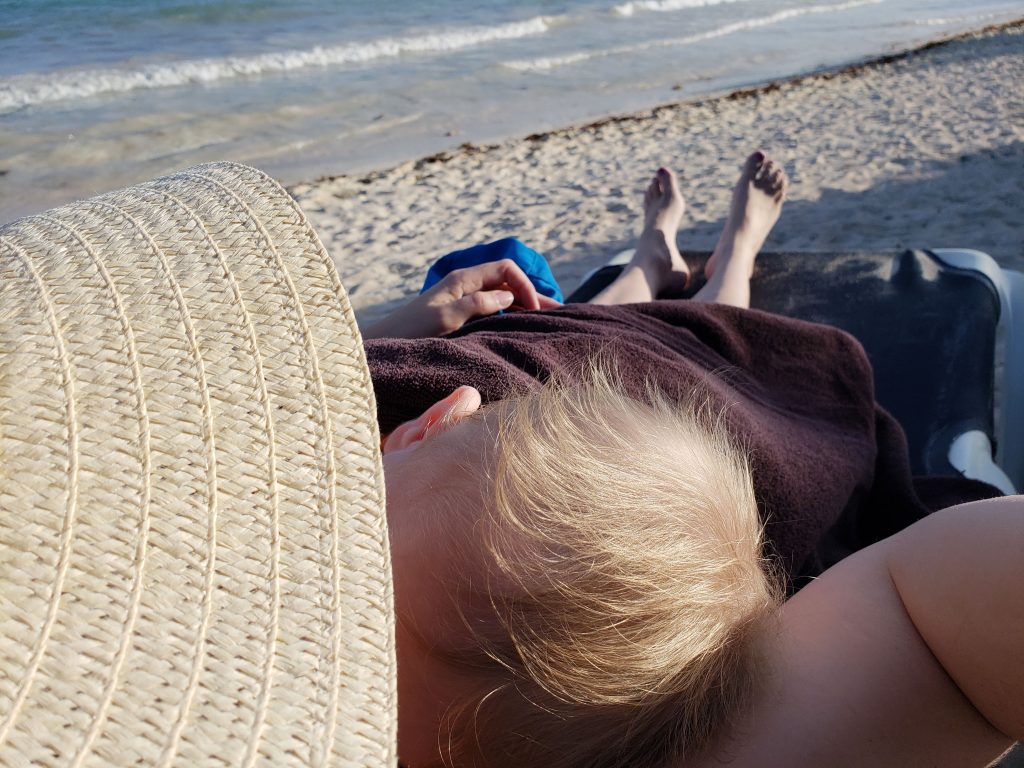
2. Sunscreen and lots of it!

Even if you are going somewhere cloudy or cold, you need lots of sunscreen for the outdoors. It is heartbreaking if your baby or child gets a sunburn and you could have prevented it.

I recommend packing any sunscreen that has the main ingredient as Zinc Oxide. This is my favorite one, Badger SPF 30 Baby Sunscreen Cream.

Though it is hard to apply because it is so thick, you can mix it with coconut oil to give it a little more give. It is a great natural sun blocker. It forms a barrier on the skin to help protect and block sun rays. Unlike another sunscreen that absorbs into the skin along with any toxic ingredients that are used to make it.

In case of a burn, it is great to have on hand some aloe vera and lotion. One of my favorite lotions is the Johnson & Johnson Creamy Baby Oil. It’s a two in one combo pack because you get mosquito protection along with it’s moisturizing benefits.

3. Stroller and a Puddle Jumper Life Vest

The stroller was great for pushing the kids around in the airport or at the resort. If you aren’t going to an all-inclusive, there are many places that strollers work for and don’t work for. If you think you will be out and sightseeing a lot, a stroller is great for back up. Even if you don’t use it, my motto is better to have it then not. No one wants to carry around a 20 lb baby all day.

Alternatively, if you won’t be in a place where you will be able to push a stroller, pack your baby carrier. We have the K’tan and the Lilli Baby. Both are excellent baby carriers for different situations. We used the K’tan for going to the beach since I knew it would get sandy and is easy to throw in the washer when we got home.

The Lilli Baby is an excellent carrier when you are going longer distances and need back support. I love that you can wear the baby 6 different ways depending on their mood and size.

If you are going anywhere with a pool or beach, don’t forget your child’s life vest for swimming. It takes up some space in your bag, but definitely worth it since it literally can save your child’s life. We use this one and love it. It’s safety checked by the coast guard and will help not only keep your child afloat but keep your child’s head above water too.

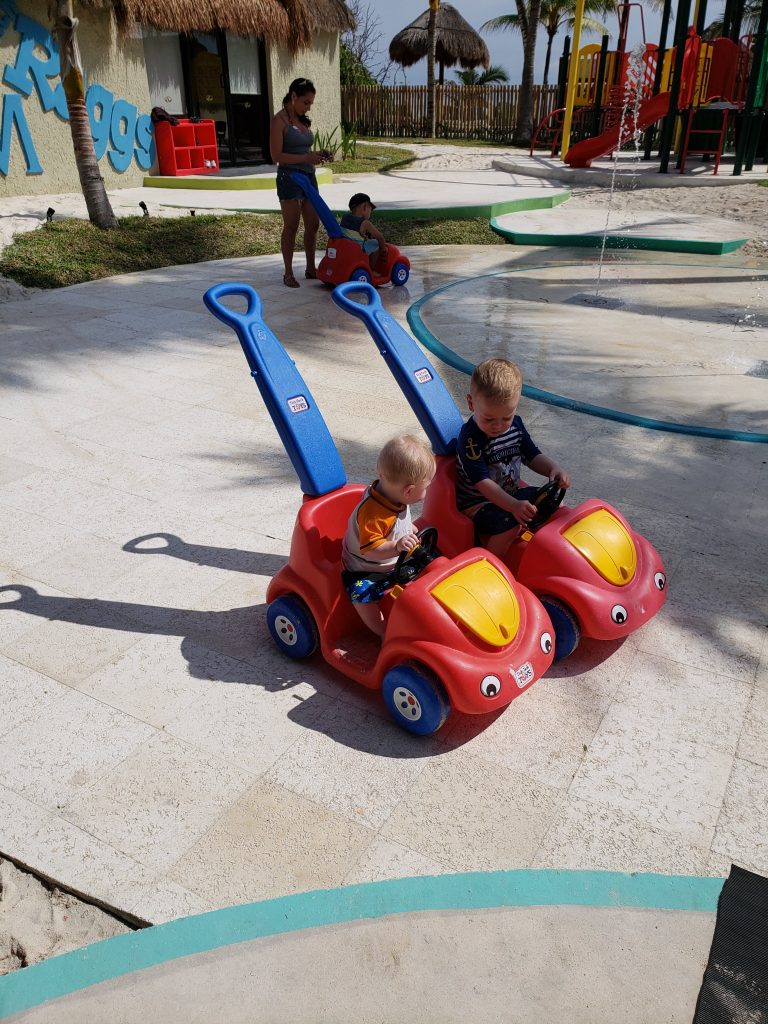
4. Entertainment and Toys

Pack a few toys for the car, for the airport, for the airplane, for the hotel room and whenever you have down time. It is pretty embarrassing trying to get your child to stop climbing on things because they are bored and you didn’t bring any distractions.

We packed a few cars, some stackable rings for the baby, a rattle, and a train book to help distract our sons in different situations. The stackable rings were the big hit for both of them!

Also, YouTube has a great premium service where you can download your child’s favorite shows and use them offline. We downloaded a few for the airplane, though, the airplane did have a great entertainment system that he largely ignored.

5. Snacks

I’m going to be doing a post on this soon but snacks as a mom are so important. Especially if you are a #boymom, like myself. My son is constantly asking for something to eat and is very picky. He prefers to eat fruit and that just isn’t something possible to bring places. So, recently I went to Wal Mart and got a variety of snacks to pack in the diaper bag for on the go.

Some that I recommend:

  • rice cakes
  • apple sauce squeezes
  • fruit snacks
  • granola or chewy bars
  • cereals
  • Mini Muffins
  • pretzels
  • teddy grahams

A few other things I was glad I packed for the beach were

  • two different sized beach or tote bags to carry the sunscreen, baby hats, and toys back and forth to dinner and the beach.
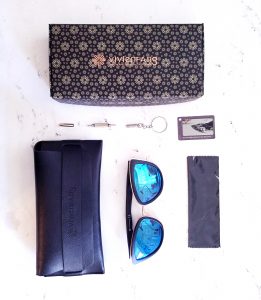
  • My own sunglasses, because how often are those forgotten in the car?
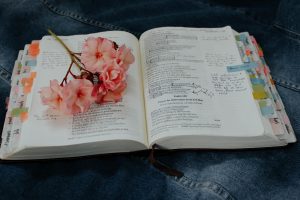
  • Stuff for me to do in downtime that doesn’t require internet or my phone, i.e. a drawing pad and good book.
  • My phone and charger to take pictures with.
  • Sippy Cup for the 2 year old. Great ones to take are the toss and go because if you lose them it isn’t a huge deal and they are mostly leak proof. I say mostly because if your child knows how to pull of the lid it’s going to spill everywhere, which happened to me a couple of times.

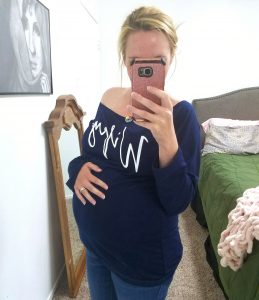
I wish I had packed more cute covers for wearing to the beach or around the resort. If I were to have brought another one, I would’ve bought this one:

Bonus – Underwear!

If your child is potty trained and gets sick, make sure you bring plenty of change of underwear. You don’t want to be washing dirty underwear in your sink trying to get some on the last few days for them to wear, so always bring extra!

You get the idea, now lets move on to things that I packed that I didn’t need.

5 Things to Leave Behind

The above five things are things we would’ve missed on our trip if we had not packed them. We used all of it and we were definitely glad to have it. Here are five things I packed that I could’ve left behind:

  1. Kid Sunglasses – Unless your kid is obsessed with wearing the sunglasses, they will hardly wear these. It is better to take a sun hat in hopes they keep that on.
  2. Too Many Toys – It’s great to bring toys but I would narrow it down to less than four. We took a whole backpack full for our son and they just played with two or three of them.
  3. Baby Powder and Water Shoes – These would’ve been great but they were forgotten at the bottom of the bag. We never got too sandy that we needed the baby powder and if we did they had wash off stations in varies locations.
  4. Too Many Shoes and shirts – We definitely overpacked on the shirts and clothes. I came back and half my clothes were untouched because I wore my swimsuit most of the time with a cover-up.
  5. Laptop and other Big Electronics – This is a vacation with your family. The last thing you want to do is be distracted. You are spending a lot of money, you might as well unplug and enjoy your time.

I looked at a few other packing lists on pinterest when I packed and made my list from that. I know that I was definitely glad to have the above and wish I had left a few of the things behind. Be prepared but have fun on your trip. You only live once, so might as well enjoy the ups and downs.

If you liked this blog and want to know more about me or my daily life check out my blog posts in the About me category or follow me on Instagram @sharrette.co or @sharretteillustrations.

You can also check out my pinterest for things I pinned before my trip here. I have a bunch of great kid boards where I pin things like what to teach my son, different craft or activites, and even just fun baby gear!

Xoxo!

A Review of My Recent Shein.com Purchases

A Review of Shein Clothes

I have seen the shein.com ads for a long time now and have wondered about the quality, shipping, and sizes of the pieces. The prices are so reasonable and the styles so cute, I finally decided to take the plunge and order a few items. This is a review of my recent purchase and whether you should order from them as well.

What did I purchase?

If you follow me on Instagram, you know that I am pregnant right now. Buying pants or skirts were out of the question. I wouldn’t be able to wear them for months still, and who knows what size I’ll be after the baby is born. I did end up going through their selection and save some to my wishlist for later, though. Hey, a girl can dream!

For the shirts that I ended up buying, I tried to find styles that I thought would look good both now and postpartum. The shirts that I bought were simple. Some were flowy and some were just normal t-shirts. Plus, I couldn’t resist this graphic t-shirt that has the word Nope on it.

It is always difficult to gauge what size to get when you haven’t purchased from the store before and shopping online. Plus, add being pregnant and it all just becomes a shot in the dark. I ended up getting a medium on everything. It seemed the safest bet in the end.

Receiving the Goods

One thing I was nervous about when I ordered was that shipping would take a month to get to me. I have bought from other similar sites and it did take that long, but this is not the case with Shein. It only took about a week, and everything was there.

When I was originally shopping on the site, I was going back and forth so much on what I wanted to buy that I was adding and removing stuff from my cart for several days. In the end, I didn’t double check the number of each item because somehow I ended up with 3 of the same shirt. I originally thought it was their mistake, but alas no. I had paid for all three and definitely had to do a return order.

Other than that, everything was there. Now for the fittings.

Trying Everything On

Even though everything I ordered was a medium, somehow there was a wide range in the size of everything. At the bottom of each item on their site, people do upload pictures of the clothes and review them. That is actually very helpful.

This blush shirt, that I ended up with 3 of, is super long in the back. I love the fit but I’m worried that it will look excessively long in the back when I’m not pregnant. We will see. I decided to keep one of them and send the other two back.

I also purchased this green shirt with a cute x detail at the neckline. Besides that, it is a pretty simple shirt. It seems slightly short, but that could just be my belly making it shorter. I’ll have to update this once I am postpartum. The material seems a little cheap, but not enough that I felt the need to send it back. It is soft and subtle.

Updated:

Finally, the last two shirts I bought were this Nope shirt in Black and a navy blue shirt that says wifey. I love both but I have not worn the wifey shirt once. It is really long, and I haven’t found myself drawn to it to wear.

So, now being postpartum, I wear the green and black shirt the most. I don’t wear the blush shirt hardly any and I don’t think I’ve worn the wifey shirt once. It’s a shame too because I hate spending money on things that I don’t end up wearing.

Conclusion on Shein

All in all, I like the purchases that I got from Shein. I wish I had returned the blue wifey shirt only based on the length. I feel the quality of the clothes is comparable to the price they charge.

One negative is that I think they only give you one free return, so I don’t think I will rush off to order more clothes from them. There is such a variant on the clothes, that I would be nervous about each item and how I liked it.

If you want clothes that are cheap and look good, then shop here. If you want high-quality products for great value, I’m not sure that Shein is the place to buy from.

Have you bought from Shein? What was your experience? Did you like the clothes?

Check out some of my other fashion blog posts below in the related section. In this blog post, I talk about some fashion trends for this spring. Also, if you are looking for a great mascara that gives you the false lash look, check out my review of these three mascaras.

The Happy Planner – Creating your Own Planner Pages

The Happy Planner – Creating your Own Planner Pages

I love planners! Last year I started a planner subscription service. After several months, I decided to end that and started blogging instead. The past two years have been such a journey that begun with calligraphy and has expanded into so much more. I have never felt more creative and enjoyed what I do! Plus, I get to stay home with my kids while I do it. All that being said, I like to stay organized. This blog is about My Happy Planner purchase and the expansion pack or add-on pages that I created for it. I’m going to go through some backstory, show you mine, and then talk a little bit about how to create your own planner pages.

Keep reading for more!

The Back Story

As I mentioned in the previous paragraph, I started a subscription service last year and created my own planner packs. It was a great idea and I loved creating the pages for it but it didn’t seem to take off. That is okay because, from that, I expanded to this blog and into several other creative ventures like fashion illustration.

I loved being able to search for different ideas for the planners and then create something beautiful to add to my planner. One thing I found is that I didn’t like any of the covers or cases that I got for my planner. I wanted the planners to be 5×7 and since I was new to the planner world I didn’t realize it wasn’t a typical size. Also, I wasn’t thrilled with the different hole punch options that I saw.

That being said, I created three different types of planners. One I built out a planner and had it printed, two I used a two ring cardboard binder and the third was just a pretty two-ring binder. I still have the three different planners that I created. One of them has been adapted several times with the different things I have needed.

This was like a gateway into the planning world for me. Here are some of the monthly subscription pieces I created:


The look of them definitely improved over the months I created them. As with anything, practice makes progress.

My Current Happy Planner

I went to the store about a month ago and bought a happy planner. I was so excited. My sister got one, and I wanted to get one because I wanted to be able to plan out different activities and school to-dos for my son so that I could stay on track with teaching him things. This is the happy planner I got:

I love the rose gold wording, of course, and it has little rose gold dots through-out the cover. I didn’t get the stickers and pen with mine but this is a great package. I got home and was so excited to open it up and get to planning. I didn’t pay attention, though, when I got it because when I got home and opened it I realized the planning pages don’t start til January.

What to do?

Well, me being my creative self, I decided to make the November and December pages and incorporate my fashion illustrations through-out it.

Here is what I came up with:

I’m in love! If you are like me, you love fashion and fashion illustration. These are three of my fashion illustrations. You can see more of my work on Instagram @sharretteillustration. Or you can check out my shop and purchase fashion illustrations to incorporate into your planner pages.

The format of the December Planning Page overview follows the one that came with my happy planner. I added in a quickshot of birthday previews and answered prayers. I really wanted to focus on thanking God, answered prayers and being thankful so I added that in.

On the weekly planner page, it follows one of the happy planner layouts I saw that I liked. I just adapted the layout to what works best for me in a planner.


With my three planners, I made and already have, I found I used more of the to-dos than the weekly page. So, I put that as the central focus of my weekly planner page with a quick snapshot of what was happening for the day at the top. Finally, the bottom has a scripture that I could write in if I wanted to.

So, after having used this a month now, I’ve found the columns are a little narrow for writing in but I love the layout. The only thing I need to add to this layout would be quarter size insert planner page between weeks or a kid section where I can plan out activities for my boys and their learning/weekly activities. The other side of the week planner page has a prayer list and meal list.

Finally, the month calendar: There isn’t much to say except I love the little fashion illustrations I added into it. On the other half of it, which I dont have shown, I put another prayer list.

What do you think? What would be on your planner pages when you completely customize them?

How to Make Your Own

The Program to Use

Now, I did all of this in Adobe Illustrator. I pasted in the .jpg files of the fashion illustrations then created lines and wording over it. The illustrations have a lower opacity. You can do similar layout in a program like canva so that when you write over it,  you’ll be able to see your writing.

Microsoft Publisher or even in the Canva App are similar apps for you to create your planner pages in. I went to school for Graphic Design so having Illustrator is a must for me, but you don’t need something that expensive.

I have used Canva on several things. It has features I like and features I don’t like. I love that you have a lot of layouts and pre-made things to choose from where you can just insert and go.

One feature that I have trouble with is the auto save feature.  When I have created a design and then go back to make changes, it doesn’t always save all your work. It does save your piece for editing. But there have been times when I have exited and come back and it hadn’t saved everything I did, so I basically had to redo it all.

Canva is a great substitute for Illustrator, though, as you will be able to layout things a lot like you would in Illustrator. You can add images, add text, and even filters or shapes.

Side Note: If you need images without a background, you should try googling .png files. The white background in .png files is inherently transparent.

Steps to Creating, It is Super Simple

So, start with a blank canvas the size that you want to create for your planner pages. For example, my happy planner is 9.25 x 7. So I created the planner pages on that size. Plan out what you want to put on the page, any images what words you want to add and what works best for you.

PicsArt is a great app for letting you create custom canvas sizes then you can move them into what ever other program you are working in.

Add in any text, you can use the shapes tool for writing lines, or boxes as needed or desired. Then add in any images. I, again, recommend using .png for the transparent background. Adjust your image opacity to low so that you will be able to write on top of it while still being able to see the images.

Then you want to think about how you are going to lay it out to print it since it will be double-sided. If you have made multiple pages, you want to lay it out on an 8.5×11 sheet so you can print it from your home printer. You can go one by one and manually print the pages so that you don’t mistake the double-sided feature or lay it out in pdf with moving around the pages.

After you get it to print it, cut it down to size. I use this to cut mine down:

Then punch your holes and place in your happy planner! This is the one I use:


Vola! You have your own personalized planner pages.

If you have any questions, feel free to leave a comment and I will try to help as best I can. I think that hardest part of this is getting it laid out and printed right. I will do a blog post about how to print planner pages with them laid out correctly then add a link here after it is done.

If you have created your own pages before, I would love to hear how you did it and some ways you personalized it. I think the next step for my planning journey is creating stickers with my fashion illustrations. Keep checking back to see when I get them done!

Thanks for reading, xoxo!

Searching For Happy

Searching For Happy

Searching for Happy

We are all searching for something – More money, better career, better friends or family. We just are seeking happiness and each of us thinks there are things that we can achieve or receive to make us happy. I’ve been searching for that, too.

If we can just make this much money, then I’ll be happy. If I just do this, that will make me happy. One more thing, one more time.. this is it. It’s the answer.

I recently went on a roadtrip with my mom and my kids to see my grandmother. She was listening to this show on YouTube talking about heaven. Roberts Liardon, God’s Generals. In it, Roberts discusses his temporary visit to Heaven as an 8 year old boy. Side note: I’ve always been fascinated by these stories and near death experiences.

Anyway, he describes heaven as perfection. The couch makes you feel comfortable, regardless your position. Your house has everything you want in it. The grass is so green, golf courses pale in comparison. Just listening to him describe it put me in awe and I long to be there.

Where It Lead Me

As I’m relaxing tonight, I am praying asking God to show me something and to speak to me. I feel like he was speaking to me about this. I am exhausted and just thinking if I can just have time to relax, if my husband does this or my kids do that, then I’ll just be able to relax and be happy. Then it hit me, no, I won’t ever be satisfied with anything on earth.

Sure, I’ll enjoy life and be momentarily happy with things, people and money but then the longing and emptiness will hit me again and I’ll go searching for more. Jesus is what I am searching for and heaven. The perfect place that molds itself, according to Roberts, around my comfort. I need to be in His presence worshipping him. It is what I was made to do, what I long to do. I get so busy chasing after everything else, though, that I forget the one thing that will complete me.

The Way

So if you are like me, finding life meaningless and dissatisfying, know that the only satisfaction you will ever find is in Jesus.

Slim Sonic by Violife – the one travel toothbrush kit You need

Slim Sonic by Violife – the one travel toothbrush kit You need

Traveling can be hard, especially with the travel regulations they have on liquids and checked baggage. Packing doesn’t have to be a hassle though when you have the right items. That’s where this amazing Slim Sonic electric toothbrush comes in handy. This is a review of the VioLife Slim Sonic toothbrush which I received complimentary.

All views expressed in this review are my own and does not represent that of Vio Life or any other third party. 

The Packaging

I received the VioLife Slim Sonic in a beautiful plastic box that holds the toothbrush and accessories perfectly. With a window to see all the pieces, it makes it easy to store the product when you aren’t using it or as a great gift set.

My Vio Life Slim Sonic came with three interchangeable toothbrush heads, one AAA battery, three different colored caps, instructions and the toothbrush base. The three different caps are great for switching out based on the day or trip depending on your mood. I noticed that the website showed different colors than the ones I received. I do love these but would’ve loved the lip cap shown on the website.

Out of the cap colors I received, my favorite one is the multicolored purple hexagon pattern. I will definitely be using that cap the most! The main reason I love the caps is that I always feel gross having my toothbrush loose in with my other toiletries. I feel like it is just collecting germs in there. With these caps, I don’t have to worry about that!

How it works

The great thing about this toothbrush is the power it packs. After using it, I felt like my teeth were silky smooth clean. It even managed to clean in-between my teeth pretty well. This may very well become my main toothbrush. So, if you want a great travel electric toothbrush that won’t break the bank, this is a great option. It is also great for as a gift!

Check out more of Vio Life’s products on their site at www.violife.com, #violife #slimsonic #oralcare

If you want to read more of my product reviews, check out this one on my favorite pair of sunglasses, My Girl style by Vivienfang.


Vivienfang “My Girl” Sunglasses Review

Vivienfang “My Girl” Sunglasses Review

This is a review of how the Quay My Girl Sunglasses compare with Vivienfang My Girl Sunglasses.

Quay My Girl Sunglasses

quay my girl sunglasses

quay my girl sunglasses back
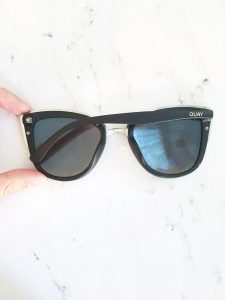
I ordered this style, My Girl, from Quay Australia last year. I had been eyeing them for several months and finally worked up the courage to drop the money on them. True, $50 isn’t much to spend on sunglasses but I’m used to buying $2 to $5 sunglasses so this was a huge leap for me.

I ordered them off amazon and of course, I loved how they looked. Quickly, I was disappointed in them though and tried to ignore my disappointment because I had spent the money and I loved the look.

Here is what I didn’t love: they were hard to use in sunlight because they didn’t do a good job of blocking the sun. Also, while I driving, I would have a glare on the back side of the lens because of how they fit. Secondly, I was disappointed because they felt too big for my face. If I looked down, they slipped down. I had to be careful how I moved so they didn’t fall off. Both pretty major things when it comes to sunglasses!

So, after having them for around a year, I get in the car one day and an earpiece is missing! I don’t know how it broke or even where it is, but I was shocked that my $50 sunglasses broke after only a year with the same storage I use for my 7 other $2 pairs of sunglasses that have lasted me 3-4 years. It seemed like a slap in the face!

Vivienfang My Girl Sunglasses

I found these while pursuing Amazon for new Quay Sunglasses. I love their styles and had a birthday gift card that I thought would be perfect for a new pair.

As I looked and compared two different Quay styles, I came across the My Girl style by Vivienfang. The thing that caught my eye was the price difference and that they were polarized!

vivienfang my girl sunglasses

They were half the price of Quay and polarized!! I was skeptical, of course, but decided to take the risk and get them. Oh my goodness! I could not be more pleases with this brand!

As I said, I already knew I loved the style of them but I was so surprised at the quality of Vivienfang. It came in a cute baggie, then a box, then the sunglasses case, then even more wrapping. In comparison, the Quay came in a baggie and then in a sunglasses bag that you squeeze to open. Hardly a presentation and definitely not protective!

I pulled them out and instantly fell in love! The polarization helps so much. I can definitely use them as sunglasses now and not just for the style. The fit is phenomenal. They actually have adjustable nose pieces, if I needed. But, I didn’t even need to adjust it. I put them on and they fit like a glove! They also came with a keychain eyeglass screwdriver, a hologram to test the polarization and a cleaning cloth.

Quay came with the sunglasses and the case. Quality at its finest! (sarcasm)

Vivienfang’s are half the price of the Quay’s, they fit amazingly and I can actually see out of them! I have never heard of vivienfang before but I definitely will be buying my sunglasses from them.

Update:

I am still loving the Vivienfang. I feel like I am taking better care of them. I store them in the case and keep them separate from the other $2 sunglasses I have. I think this is because the others broke, but also because Vivienfang provided a much better sunglasses case than the Quay one.

I love how they look. I love how they fit my face, and best of all they do a great job blocking out the sun because they are polarized!

If you end up getting some Quay sunglasses or Vivienfang, let me know what you think in the comments or follow me on social media!


Want to read some of my other reviews? Check out my review of Boscia Black Charcoal Face Mask. You will want to run out and get some after reading how much I loved it!

Boscia Black Charcoal Mask Review

Boscia Black Charcoal Mask Review

I’m so excited to share this review with you! I’ve been wanting to try out this face mask for several months now especially the pink one. So, I am super excited because I finally am getting able to try and review the Boscia Black Charcoal mask.

I love face masks and have been using them a lot more recently since giving birth to my son. They just make me feel so refreshed after having a long night with him. They also make my skin feel and look renewed.

I’ve mainly been using the wash off kind, but I love the peel masks because of all the stuff they pull from your skin.  It’s especially fun to start peeling it and I have a hard time waiting for it to dry.

The Boscia Black Charcoal Mask Review

Application

I started with a clean dry face. To apply, I just squeezed a little of the mask onto my finger at a time and started applying. It went on without any problems.

There is little to no scent with it, so I didn’t feel overwhelmed by smell while I applied or had it on. I do love the way some masks smell, so this was a slight disappointment. However, it didn’t affect my overall love of the Boscia Black Charcoal mask.

I made sure to stay clear of my under eye area and any skin too sensitive that it would be painful to pull the mask away from. I made sure that I applied a good thick mask. You do not want peel away masks too thin or they are more painful to remove and don’t work as well.

The Drying Time

I did feel like it took a good bit of time for the Boscia Black Charcoal mask to dry. I just took a bath and played with my son while I waited. It wasn’t inconvenient, but I planned for it to take time. I’d say overall it took 30-45 minutes to dry completely.

Just make sure when you do it, you allow adequate drying time. The same thing goes for Making it too thin, if you don’t let it dry adequately then it doesn’t remove properly.

The Removal

This is the fun part! I thought that it was going to be extremely painful and tedious to peel it off. That has been my experience with other peel off face masks, and the look in peoples’ eyes when you see the video of them removing it.

However, that was definitely not the case for me. I think it was because of the two pointers I included earlier: keeping it away from the sensitive skin around my eyes and making sure I applied a thick enough layer.

It came off pretty easily and with little to no pain. I am very impressed! I felt like my skin instantly looked more luminous too!

I haven’t been drinking the amount of water I should, but after this mask, you would never be able to tell that. I keep catching glimpses of myself in the mirror and just love how my skin looks.

I definitely recommend getting some of the Boscia Black Charcoal Mask for yourself. You won’t regret it. I now have on my list to get the pink one, too! Let me know if you try it out and what you think of it either here in the comments or on my social media pages.

Side note, this past Friday I thought I was getting a sore throat. I looked at my tongue and it was almost completely coated white. So, I dipped my toothbrush into some Apple Cider Vinegar and brushed my tongue. I did it several times, rinsing in-between, and my throat is no longer scratchy and white. The stuff is pure gold! You can read more about why what I love Apple Cider Vinegar here on my two favorite natural beauty hacks blog post.


Boscia Charcoal Mask Review


Please note that I received this product complimentary from Influenster for testing purposes. All opinions expressed in this blog post are my own and not that of anyone else or the company. I did not get paid for writing this besides receiving the product for free. 
What Keeps Me Busy and My Daily Routine

What Keeps Me Busy and My Daily Routine

The silence on my blog has been deafening. I have completely hit a brick wall with coming up with ideas for blog posts. I’m not going to lie. What will keep readers interested? What am I interested in writing? Apparently, lately, not much! I’ve been so busy and overall tired that it just seems more like a chore than something I will enjoy. So, it has definitely taken a back burner for me. I thought now was the perfect time to do a post about me and my daily routine. I want to connect with y’all and what better way than to give you a peek inside my day!

The Past Month

I’ve been so busy with my son lately. He has been quite the handful. Ever since January he has been having a hard time getting to sleep for naps. When he doesn’t nap, I don’t get as much time to do things that I want to or need to do, like writing for this blog. So that has been one thing that has me distracted lately.

In addition to that, by the end of the night, if I have been busy with my son all day, I end up just wanting to draw or needing to work on one of the jobs that I have. It gets tiring and I have a lot of spinning plates up in the air right now.

I definitely enjoy what I am doing but sometimes things don’t get the priority they need. Especially when I just feel like sleeping and not doing anything. (No, don’t worry I’m not depressed. Just hitting the third trimester hard.) Life just gets busy and overwhelming sometimes, you know?

My Jobs

I have several different jobs that I am working now. I really am enjoying all of them. My favorite is doing this blog and drawing stuff, but that is the least profitable. Other jobs that I work are as a social media manager, graphic designer, and stylist. I work as a contractor on all three of those jobs and love it!

I feel like I have created a great outlet for me professionally for all the things I want to do while being able to stay home with my son. As I said though, it is hard work to keep all the plates spinning especially when my son decides he doesn’t want to sleep.

A Day In the Life – My Daily Routine

What does a typical routine for the day look like for me?

I get up when my son does. He is my alarm clock. He wakes up anywhere from 7:30 am to 9 am. Some parents or moms feel like they should wake up before their children to start their day off right, I am definitely not one of those moms. We wake up and change his diaper then get him breakfast.

After the breakfast routine which can take an hour or so, depending on how he acts and how much he eats, we play some. He will play with his toys or watch a little bit of tv while playing. Then we start with a snack or lunch before we head to put him down for a nap. It doesn’t seem like a lot but it sure takes up my whole morning.

Side Note

I realized today alone I spent from 8 am to 10:45 am just feeding him and making him breakfast. He ate some cereal, then wanted a fruit cup, and still wasn’t full. So, I gave him some applesauce and made him some quick and easy muffins. It was quite the breakfast!

One little trick I’ve learned recently, that might help you if you have a bottomless pit like my son, is to grab the 87c muffin mixes at Walmart that you just add 1/2 a cup of milk to the mix. It is so easy to mix and throw in the oven. I get mini cupcake paper and the clean up is even easier. Great for grabbing on the go. 

As I mentioned, from January, his sleeping has not been in a routine. So, I have been working on getting him back in one by trying for naps at the same time every day. It has been getting better. If he naps, I will draw, work, or blog. He sleeps from 2 to 3 hours so I get a good deal done. If he doesn’t nap, some days I will fight him for a few hours trying to get him to sleep other days I will give up and just let him play or we will go out.

After he wakes from his nap, we will go out to see family or run some errands. Other days, we just play here around the house. There isn’t much time left before I start dinner. We have a nice family dinner and my husband takes over baby duty. He’ll get him ready for bed and down for the night. I will then clean some and head to do more work or drawing.

It is a nice balance of family life and work but some days can be exhausting when he doesn’t nap. Those days seem to be overwhelming with touch and attention that he needs. Though, I wouldn’t trade it for the world!

Goals for the coming Months

So as you can see, I’m busy busy busy. The problem with a routine and children is that their internal schedules are constantly changing with their growth. Being flexible and adapting the routine as you go has been key for me since having my son.

For this blog, I think prepping and planning the content out will help with that. In the coming months, I would like to post more than I have been or at least get slightly more consistent. Also, continue to grow my social media and other jobs I have going. Drawing is my favorite thing to do, so I obviously won’t be giving that up!

Time sure does fly by when you are busy.

You can see what my goals are for this year in my blog post from earlier about my bucket list for this year. What are some of your goals and what does your typical day look like? How do you prioritize things you want to do versus things you need to do?

xoxo!

How to Deal with Feeling Discouraged

How to Deal with Feeling Discouraged

Lately, I have been feeling really discouraged. I see everyone else’s highlight reel and I just feel like I’m failing at everything. It makes me want to quit and hide in bed. What do I do to kick these feeling? While I am still working on it, this is a list of 11 ways of how to deal with feeling discouraged that have helped me get through some of it.

11 Ways of How To Deal

1. Take a break

Everyone needs a break. The more time you invest in something the less clearly you will be able to see it. You are too close. Step back. Take a breather. Get a new perspective.

Maybe you have spread yourself too thin. This is me. With being spread too thin, it can make you feel like you aren’t getting anywhere with anything. So, evaluate everything you are working on and let go of things that aren’t a true priority.

Ask yourself:

  • Why did I start this?
  • Is it important to my long-term goals?
  • Am I doing it well?
  • Do I enjoy it?

Just make sure that you don’t overwhelm yourself with too much. You can do it, just not everything!

2. After taking a break, start an easy piece or job.

Whatever you are trying to do, just start something small and easy to get back into it. Write a quick post, if you are blogging. Make it short and simple. If it is an art piece, set a timer and do a quick 10 minutes sketch or even only 5 minutes.

It is amazing what you can accomplish if you set a timer.

Another example would be making a quick batch of muffins. You can get the packets from Wal-Mart that you just add milk to. Super easy and quick to prepare and pop in the oven.

The key to this one is just doing something that you can see the results of quickly.

3. Practice something new

Running into burn out over a specific thing? Throw a twist in. If it is art related where you do mostly watercolor, try a new medium.  If it is work-related, are there new projects that you can take on to mix things up a bit?

Is there something new you have been wanting to learn but haven’t taken the plunge yet? Look into it. There are a lot of free or close to free places you can learn new things through.

Here are a couple resources to check out:

  • the local library
  • your community college
  • youtube or google search it

4. Redo an old piece

One thing that is really inspiring is to see how far you have come. Can you look back at an older piece you created or an older anything and see progress? I love Instagram for this reason! Looking back at my older posts then comparing them to newer ones gives me drive.

Wow! Look how far I’ve come. Nothing like pushing you forward when you look back. It’s like climbing a mountain and you are almost to the top but feel like you can’t make it the rest of the way. You look back and realize that you have almost scaled the entire thing. Keep going! You can do it! 

5.Pray and refocus on God

One thing I find when I am feeling discouraged is that I haven’t been spending time with God like I should or used to. This completely changes my perspective on life and goals. It reminds me how temporary everything else. All the happiness and sadness, they are fleeting like the wind.

Hope in God is the only thing that makes anything in this life worth achieving. So, I open my bible. I pray.

Psalms 42:5 “Why, my soul, are you downcast? Why so disturbed within me? Put your hope in God, for I will yet praise him, my Savior and my God.”

If you have read Ecclesiastes and relate to it, you and I have a lot in common. I recently read the book again and just was reminded of what the point of this life is – enjoy your lot and follow God. Hard to do when you feel discouraged, but keep in mind that God gives us contentment.

Share with God your burden. He will more than gladly take it from you and give his which is easy and light.

6. Find someone to encourage you

When you just can’t get out of your own head and want to give up, you’ve tried motivating yourself, what is left? Friends and fellowship. Find your best friend; text them, call them, show up at their house. Hence, they are your best friend for a reason and they want to be there for you.

Let them know how you have been feeling. They can laugh with you and cry with you. As a result, they will help get you through till you are on to the next thing. Then when they go through something similar, you can be there for them.

7. Set a small goal and accomplish it.

This is a huge thing for me because I thrive on achievement. You can set small goals in any area of your life and just do them. Also, It can be something for the house like clean the kitchen. Put it down on a list, do it, then check it off. Visualizing the achievement will help you feel more accomplished.

Other small goals you could set for yourself are:

  • cleaning a certain room in the house,
  • posting to social media something you have been planning to post,
  • getting to work at a certain time,
  • creating a new art piece
  • washing the laundry
  • putting away clothes
  • cleaning clutter up
  • taking the trash out
  • cooking a meal
  • getting the oil changed
  • working out for a certain amount of time that day,
  • meditating or having quiet time.

There are a ton of different things that are quick, easy to do. It will make you feel so much better feeling productive!

8. Get Out

People feel more depressed in the winter. You know why? Because the sun doesn’t shine as much in the winter and you are lacking vitamin d. What can you do to combat this? Get out with friends. Spend some time laughing and soaking up the spring weather on a good day.

Go to the mall and window shop. Go to the zoo. Have a tea party at a local tea room. This is one of my favorite things to do. I do it probably only once a year, but I still love it!

Take your kids to the library or a local play area. Meet your best friend for coffee and chit chat about all that is going on in your life. Just commit to getting out and doing something! As a result, you will feel better and more engaged with the world around you. Being coped up at your house or between work and your house you can feel trapped. It helps to remind yourself you aren’t alone!

9. Make a mood board

Colors can impact your mood. Quotes can impact your mood. So, pull images that inspire you and make you feel happy. Something to push you toward your goals and dreams.

I have a whole Pinterest board called mi motos that I pin inspirational and motivating quotes onto. I have definitely gone there when I am feeling discouraged or depressed and read through them. Consequently, It really helps me feel encouraged.

Do NOT make a mood board of sad and depressing images and quotes. Every time you look at it, it will just increase your current mood. Because your goal is to alter your mood. Take control and direct it toward how you want to feel.

10. Make a dream board

This one kind of goes along with the last one. The main difference though is that this board is directly related to things you want to achieve or accomplish. Say you want to own a boutique someday, you could pin or post images of what you want the boutique to look like.

Furthermore, Other things to add to it would be the type of styles you want to have in your boutique. Colors that you want as a focal point. Other stuff like that. This applies to any goal you have. In addition, you could have a list of your goals broken down.

11. Just remember you aren’t everyone else. You are you and that’s good enough!

It is noteworthy to mention that one of the worst things about social media is, of course you have heard, you are comparing your behind the scenes to everyone’s highlight reel. It can make you feel like you aren’t good enough, or you aren’t doing enough. This is absolutely false.

No one has a perfect life. Everyone has good days bad days, days they accomplish more and days they accomplish less. Therefore, the one thing that sets the successful and happy apart from the unhappy are that they don’t give up.

Choose to be happy and chase your dreams. You will not regret it!

Just a reminder to myself

I am writing this post as a reminder to myself, mainly. I’ve been dealing with feeling unmotivated and depressed on and off for several months. In conclusion, I will achieve stuff and feel great then go through a phase where I am not achieving and I feel more unmotivated.

I just keep redirecting myself and refocusing. Hence, I go through a lot of these steps I recommended and don’t give up! I’m encouraging you to do the same with me. If you have more tips, please feel free to leave a comment or connect with me on social media.

Finally, do you want to start a blog and have an outlet for how you are feeling? Here are three things that helped me when I started this blog.

Thanks for reading along with my musings! I look forward to hearing from you!